How to lay tile floor
The more and more use that is made of UGL (unglazed) porcelain tiles, characterized by high technical and aesthetical features and destined for commercial and domestic spaces, puts increasing emphasis on the excellence required in the installation and cleaning procedures.
Floor Tiling Tips
The latest state-of-the-art porcelain stoneware tiles have turned to the manufacturing processes typical of stone materials (rectifying, honing and polishing processes) allowing for the so called “minimum grout line installation“. The use of trim tiles (listels, staves, water-jet cuttings) or of the “multisize” complicates the floor installation procedures. Therefore, REFIN considers it useful to remind you of some basic rules to be applied to UGL unglazed porcelain tile, which can also be useful for the GL (glazed) ones.
Porcelain tile installation
REFIN’s porcelain tiles are characterized by a low water absorption level (less than 0·5%) therefore, it is necessary to use specific high-quality adhesives and it is strongly advised against the traditional installation on cement flush.
Floor tile adhesive
The most suitable adhesives for porcelain stoneware tiles installation can be identified as follows:
- ADHESIVES CLASS C2TE ACCORDING TO EN 12004
- ADHESIVES CLASS C2F ACCORDING TO EN 12004 for quick-setting installations (for example, in case of low temperatures)
- ADHESIVES CLASS C2TE ACCORDING TO EN 12004 for heating screed installation for small sizes (30×30)
- ADHESIVES CLASS S1 ACCORDING TO EN12004 for heating screed installation for big sizes (45×45,30×60, 60×60)
- ADHESIVES CLASS SI ACCORDING TO EN 12004 for installations on existing floors
Rectified tile installation
The so called rectified finishing has lead to the production of tiles with extremely precise dimension equal to a ”sole work-size”, so that the end user often requires “minimum grout line” installations.
How to grout tile
The “minimum grout line” installation determines a 2 mm joint on rectified materials in order to offset the even minimum manufacturing tolerances. It is absolutely advised against jointless installations.
No responsibility is accepted for jointless installations.
There is also the opportunity to use coloured pigments yet it is preferable, especially for rustic products with wrinkled and honed surfaces, to carry on a preliminary cleaning test. Anyhow, it is necessary to carry out a cleaning of the floor immediately after grouting. It is not recommended to use grouting with coloured pigments in contrast with the colour of the tiles for natural stone floors (for example: white floor with brown or anthracite joints), and this procedure is also inadvisable for honed floors.
Prepare surface for tiling
Before the cladding or flooring of a surface, a careful planning must be drawn by the builder, by the tiles or installation supplier or, less frequently, by the layer in charge. For a careful planning, some basic and really important requirements must be taken into account for a “satisfactory” installation. The laying is done to a fine art when it is:
- regular and harmonious: which means when it is flat, with no bumps or dimples, with straight and regular joints, with no steps, etc…
- integral: with no disjunctions among the elements and with no cracks
- durable, which means able to last in time and preserve its technical and aesthetic performances, without wearing away
- safe, enough to avoid accidents, which may cause damage to people (for example slipping)
Starting point for an effective planning, is the evaluation of a few data, such as:
- features of surface to be tiled
- area of destination
- tiles chosen along with their specific technical features.
Such data defines:
- la the laying technique. In particular, type, composition, thickness and fixing method of the tile bed (which provides for the tiles fixing to the body). This layer can be made either with concrete mortar (traditional method) or with different kinds of adhesives
- any treatments to be carried out or auxiliary layers to be applied on the support surface
- width, course and direction of the joints between the tiles. Thus the planner has to specify if he intends to carry out either a jointless fixing or a buttered joint fixing, with sliding or staggered, broken or unbroken joints
- placement and dimension of any movement joint. Such joints are tiles bed discontinuities, even visible, sometimes considered as an “aesthetic nuisance” by the user. However, they are of great importance as for reliability and duration of the installation.
Fixing Tile
At this stage it is possible to proceed with the fixing, that is to say the real carrying out of the project, whose success much depends on the layer care and expertise. Once studied the room, the tiles and project to be carried out, he must then:
- organize the fixing yard
- check and prepare the surfaces to be tiled
- check the measurements, the squarings, the verticality of the walls and any floor inclinations
- check materials and report any visible defects
- optimise bed, in order to make the surface to be tiled as harmonious as possible
- prepare the mortar or the adhesives, proceed with the installation of the tiles
- let enough time elapse after the installation of the tiles (from a few hours to a few days), proceed with the filling of the joints and with the cleaning of the surface
The fixing work is now finished.
Installation patterns
Register on Arkiclub and discover our porcelain tile installation patterns for floors. Refin puts at your disposal various installation patterns combining together different sizes, from the most traditional to the most modern ones, such as the 60×60, up to the 60×120 and 75×150.
Wood Look Tile

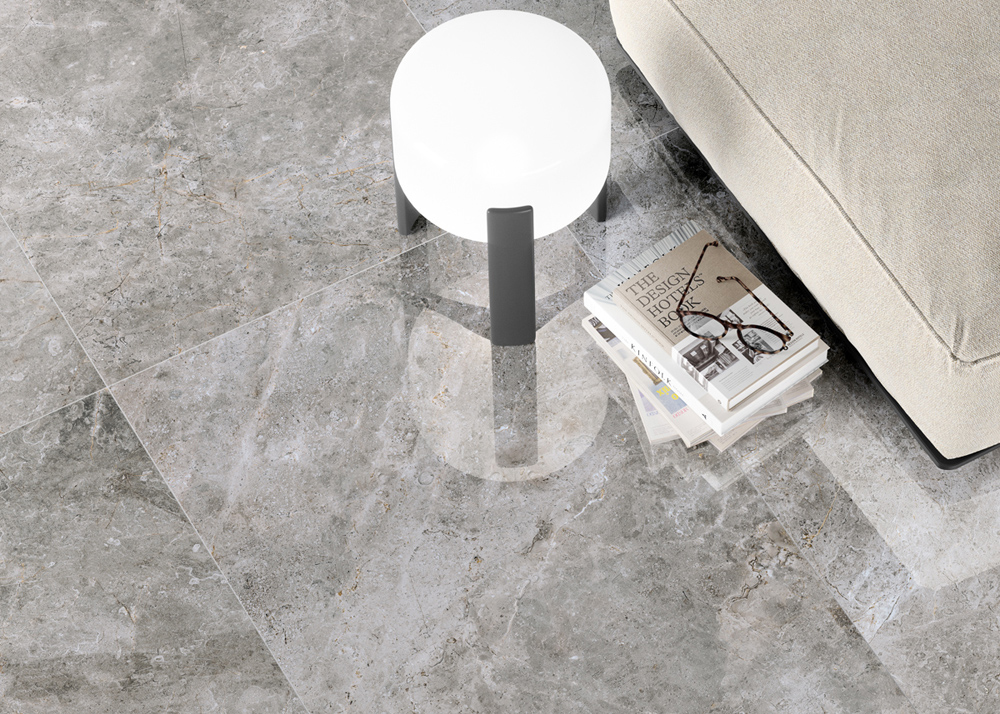
Marble Look Porcelain Tiles
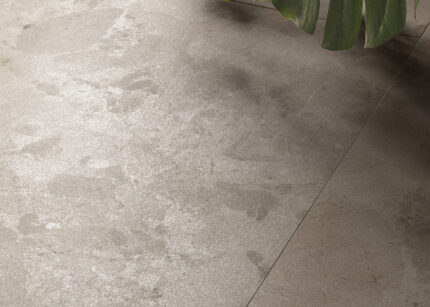
Stone Look Porcelain Tiles
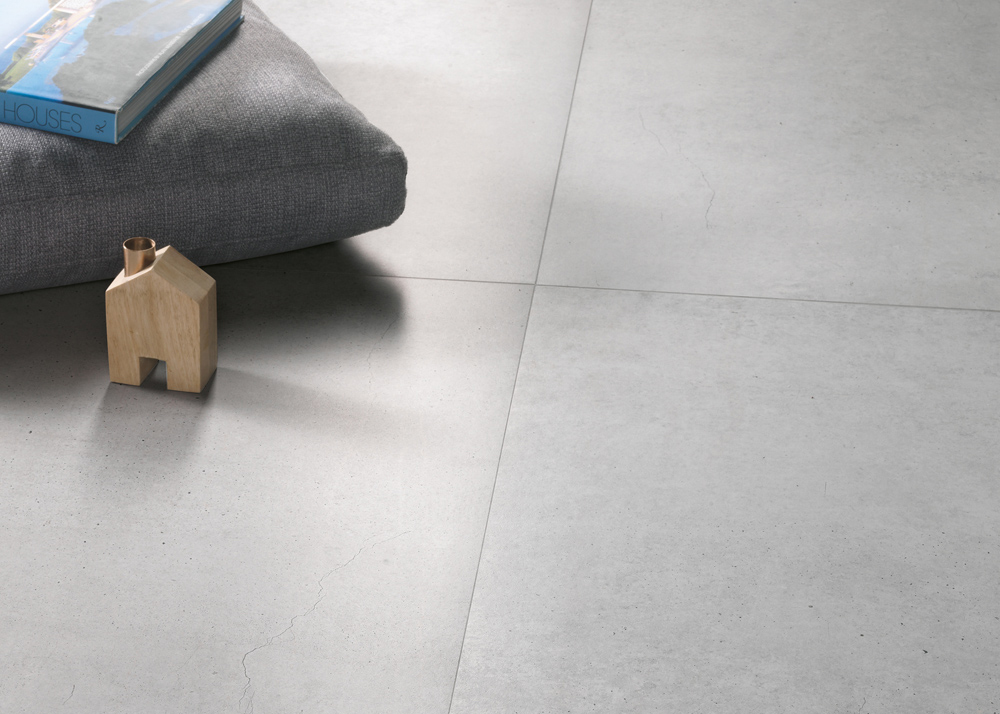
Concrete Look Tile